Friday, June 18, 2010

Taking A Break

From the dollhouse project that is...to work on some auction photography. (seriously-the doll stuff is taking over around here & I need to clear some space).

Decided to take some photos before listing on evil-bay..so without further adieu...a celebration of the warm weather we've been having...


Can you guess what item is for sale in this pic? LOL...
I want to demonstrate how FANTASTIC
this little beach chair is.

I'll post a link to the auction when it's ready.

Now..more play time...


I think my faux stone wall is my most used prop...
it makes many appearances. Can you believe
that it's made from egg cartons & spackle?
Really! I'll have to do a tutorial soon...
All glued to foam core. Folds flat for storage.


Tan scrapbook paper on the floor sort of resembles
the color of sand...and some fake palm leaves
from the craft store add some depth.


The yummy cocktail in the background was taken off
of a cocktail stir stick...(thanks to my handy dremmel tool)


Side table is a candle holder with a Barbie plate on top...
everything else is actual Barbie accessories.

I still have this diorama set up...I'll post round 2
pics along with a behind the scenes shot soon!

Enjoy~
Stephiejo

Thursday, June 10, 2010

Dollhouse Project-In Progress


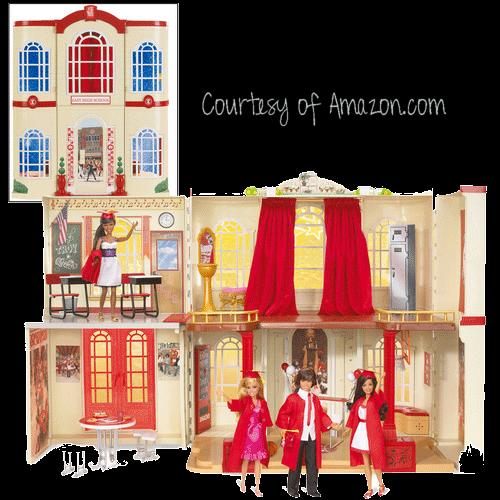
Many moons ago....I purchased a Barbie dollhouse with GRAND plans to customize it. I had visions of an ornate French Country Villa..with European accents in creams...reds...tans...and just a hint of black accent. I had the perfect fabric, cream & black toile. Red & tan plaid. Cream with red roosters. I considered leaving the interior colors as-is. I really liked the red accents and the tan base was workable. This is the set that I started with High School Musical Playset:


high-school-musical-playset


When I finally started the customization process I completely changed my mind. (As I often do!) No longer was I enamored with French Country. At least not for this Barbie house. I began looking at the furnishings, accessories, fabric and wallpaper that I already had. That pointed me more in the direction of Baroque or Regency Style. I love the eclectic mix of modern with traditional.


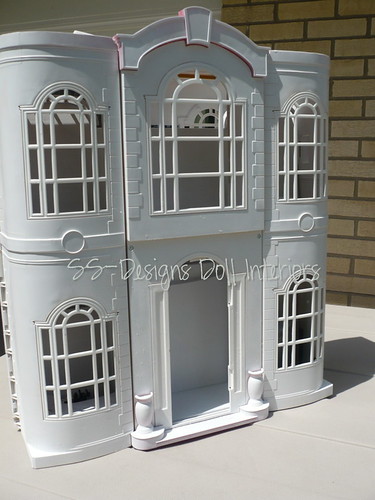
Step 1: Remove all stickers. You will need an entire bottle of Goo Gone for this! Paint the entire house-inside and out a crisp white. Let me tell you now that this process was much more difficult than I had originally anticipated. Four cans of spray paint later (yes-the special kind for plastic) and I still have areas that need to be touched up.


HSM Dollhouse WIP Ext 3


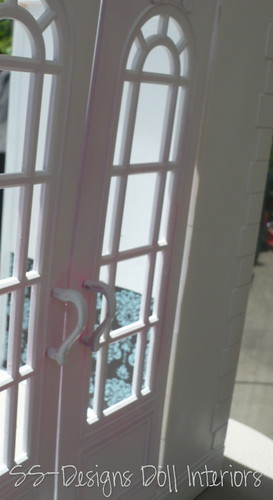
I will warn you-those red french doors are a REAL PAIN. They are warped. Not from the paint-but they originally came that way. Even though they appear to be white you can see hints of red coming through when lit from behind.


HSM Dollhouse WIP French Doors


Step 2: Pull together coordinating scrapbook papers to use as wallpaper. A word of advice-scrapbook paper is NOT the proper size to use a single sheet for wallpaper in 1:6 scale. However, if the print is suitable it can be successfully installed.


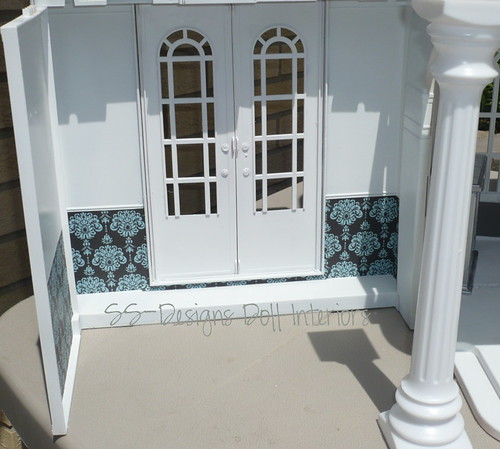
I used a small damask print in this room just under the chair rail:


HSM Dollhouse WIP French Door Room


The room directly above this space I used two sheets of paper-the main body in blue & a large border to incorporate more of the damask:


HSM Dollhouse WIP Blue Room


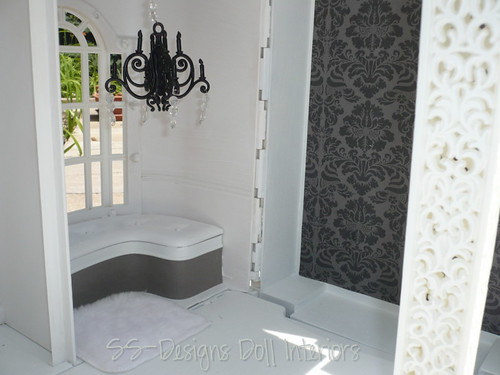
The base of the window seat received a charcoal grey paper. You can see the black/grey damask on the adjoining wall:


HSM Dollhouse WIP Window Seat


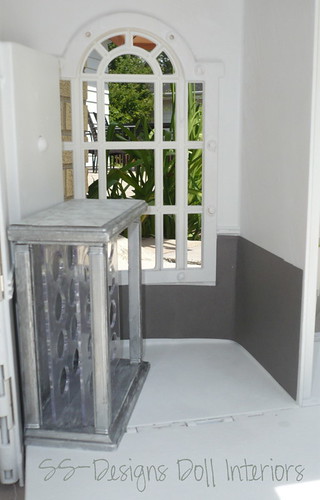
Same charcoal grey adorns the lower wall in the future wine cellar:


HSM Dollhouse WIP Wine Cellar


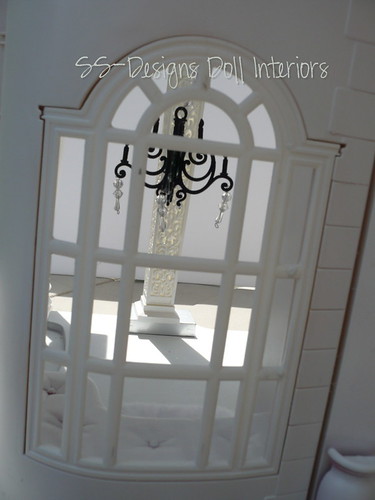
The original red support columns had to be removed. They were adorned with the Wildcats logo and I felt that covering them wouldn't work. I used pliers to break the plastic where they were attached at the ceiling. Once free at the top they simply slid out of the bottom. I replaced with these filigree columns I purchased from a thrift store. Originally used to support a tiered wedding cake. They were not quite tall enough which is why they are perched on silver jewelry boxes for the time being. I'll make a more permanent base soon.


HSM Dollhouse Window Seat Ext View


And finally a full view of the progress so far:


HSM Dollhouse WIP Full View


Yes I am fully aware that I failed to spray the arch on the roof! This piece removes easily for painting. Just ran out of paint!


There is lots left on my to do list for this home!


*Touch up white paint in several areas
*Determine wall finishes for the remained of the upper level & foyer
*Select floor finishes
*Add light fixtures (real & fake)
*Install baseboards
*Build faux side & back walls for photographing purposes
*Sew window treatments
*Build fireplace or display case for lower level damask wall (needed to support the upper floor!)


Until next time...


Stephiejo~

Non-Traditional Barbie Furniture Ideas

In my last post, I discussed my top five favorite mass produced doll furniture pieces for Barbie & friends. (in case you missed it clic...