Showing posts with label Barbie kitchen. Show all posts

Thursday, August 18, 2011

Back to School


Mom: "Sally, are you packing your lunch like I asked?"
Sally: "Yes, momma..I have everything right here"
Mom: "Do you have healthy snacks?"
Sally: "Ummm...yes...I think so"
Mom: "You think? Do I need to come help you?"
Sally: "NO!! Stay there momma..I can do it myself!"
Thump..thump..thump...thump...
Mom: "What the what?"
Sally: "BUT MOMMY..they are my favorites!"
*shakes head in disbelief
Mom: "Nevermind. I think we will take hot lunch this year"

Wednesday, June 29, 2011

Barbie Craft Project: Farmhouse Table


Super simple craft project. Inspired by a recent trip to a fabulous little craft store where I found some fun little 3-D letters made out of MDF. This cute little table popped into my head and I knew I had to have them. 


A little nod to Pottery Barn farmhouse style.

Supplies:

3-D Letter X (2 of them)
Wooden Dowel
Pine Craft Wood
Wood Glue
Paint
Stain
Wood sealer
Craft knife
Drill / Drill bits


Step 1: Find the center of the X.


Step 2: Drill a hole in the center of the X large enough to allow the dowel to pass through.


Step 3: Determine the length your dowel needs to be to support the two x's. To figure the length out I set up the x's and set the pine board on top. I left about a quarter inch overhang on each side, marked the dowel and cut to length.


Step 4: {Optional} I wanted my table top to look like boards rather than a solid piece of wood. I divided my wood into three sections with a pencil. Then score over the pencil lines with a craft knife be careful not to cut all the way through.


Step 5: Stain the tabletop (both sides so it doesn't warp). Or if you prefer you can paint it or leave it natural.

Step 6: Glue the dowel in place. Allow to dry thoroughly and paint the entire table base.

Step 7: Seal the tabletop.

I left my tabletop separate from the table base for ease of storage. You could attach yours if you wish. This particular table is just a smidge taller than an actual Barbie table so if you do not have any chairs that fit it you could use it as a kitchen island.

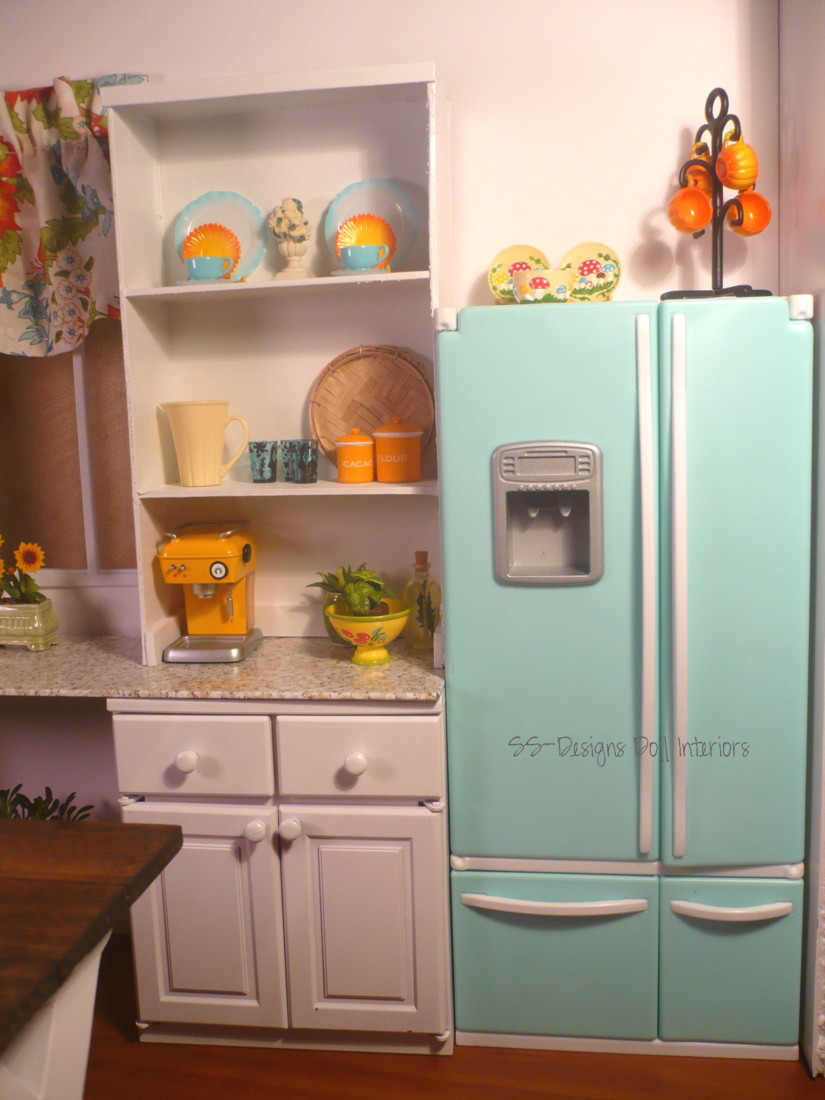
Here's my new Barbie kitchen. A tutorial on that project in the near future.


Linking to Transformation Thursday @ The Shabby Chic Cottage


Thanks for stopping by!
Happy Crafting!
Stephiejo

Wednesday, June 15, 2011

Barbie Craft Project: Tile

Quick and easy project that has a multitude of possible applications. There are a variety of ways to create scale tile, this is one method that I use frequently.

Supplies:


Thin cardboard (scrap from a notebook, cereal box, or scrapbook tablet)
Xacto knife or scissors
Ruler
Mod Podge
Paint Brush
Pencil
Scrapbook paper,  contact  paper or wallpaper in suitable pattern (example: granite, marble, solid, wood, stone)

Step #1: Lay your scrap of cardboard on top of your piece of patterned paper. Trim paper just slightly larger than the cardboard.


Step #2: Apply a thin layer of Mod Podge to the cardboard. **Note-Mod Podge is waterbased and will cause the cardboard to warp slightly. This is ok.


Step #3: Lay your patterned paper face down on your work surface. Place the cardboard on top of the paper-glue side down.  Press down firmly with your hands. Start in the center and work your way to the edges to remove most of the air bubbles.


Step #4: Place a stack of magazines or heavy books on top until the glue dries. This will flatten out the cardboard.


Step #5: Trim the excess paper to the edge of the cardboard using a straight edge & sharp xacto knife or scissors if you can cut really straight.

Step #6: Draw a grid on the back side of the cardboard the size you want your tiles. I made mine 2 inches by 2 inches. This will equal a real life 12 inch square tile.  **Hint-look at websites that sell tile for size & design ideas.  1" x 1" = 6" RL tile, 2.5" x 2.5" = 18" RL tile


Step #7: Cut along your grid lines. Voila you have tiles!


This will make a fantastic backsplash for a kitchen, a great floor or fabulous surround for a fireplace. 

Here is one example of this tile used in a Barbie sized setting. I customized a vintage Sears kitchen fashion doll playset and added my own backsplash:


Thanks for stopping by!

Happy Crafting!
Stephiejo

Monday, February 21, 2011

Country Kitchen Still Life's

A little patriotic inspired art for this President's Day.

46/365: Country Kitchen

47/365: Country Kitchen II

48/365: Country Kitchen III

49/365: Country Kitchen IV

And all together...

Country Kitchen Still Life Grouping

Happy Crafting!
Stephiejo

Non-Traditional Barbie Furniture Ideas

In my last post, I discussed my top five favorite mass produced doll furniture pieces for Barbie & friends. (in case you missed it clic...