Thursday, August 18, 2011

Back to School


Mom: "Sally, are you packing your lunch like I asked?"
Sally: "Yes, momma..I have everything right here"
Mom: "Do you have healthy snacks?"
Sally: "Ummm...yes...I think so"
Mom: "You think? Do I need to come help you?"
Sally: "NO!! Stay there momma..I can do it myself!"
Thump..thump..thump...thump...
Mom: "What the what?"
Sally: "BUT MOMMY..they are my favorites!"
*shakes head in disbelief
Mom: "Nevermind. I think we will take hot lunch this year"

Thursday, August 4, 2011

New Dollhouse Project: Barbie's Dream Mansion


I'm so excited, I can hardly contain myself.  My birthday gift came early this year.


My hubby bought me this A.M.A.Z.I.N.G custom built Barbie mansion. It is HUGE! Roughly five feet tall by four feet wide by two feet deep.

It is solid and constructed with 1/4 inch plywood. 

Traditional victorian style with bay windows on either side of a main entryway.

This was a previously loved home that has seen a lot of play time over the past ten years. A completely blank slate for me to finish and customize in whatever way I choose! 


The doorway is 12 inches tall so even in heels Barbie clears the opening. I may make the opening just a little bit bigger so I can install an operational door..which I will have to build from scratch since there are no ready-made doors in the 1:6 market large enough to work. 


The stairs are built just like in real life with stringers, risers and treads. Need to build window frames too.


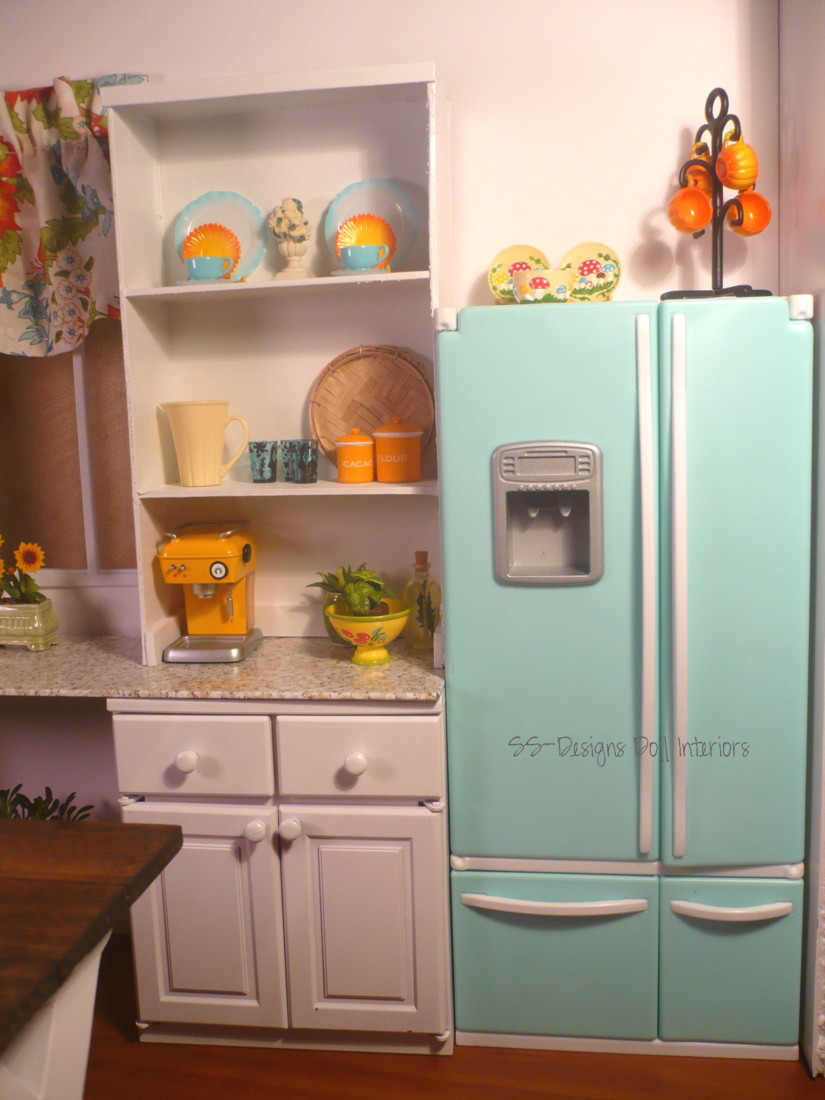
Testing out a dry fit of the kitchen layout. The entire Kenmore Kitchen fits along the outside wall but it makes the eating area a little cramped. With the fridge on the other side there is room to move around the breakfast nook. I can just imagine this kitchen filled with all kinds of re-ment! The ceiling height is 16 inches.


One optional layout for the bedroom.  The room is large enough not only to house a full canopy bed but a sitting area as well.

 **This is a new custom bed I've been working on which will be available for purchase soon! Just need to finish the mattress and sheet.


And a full view of the left side of the dollhouse just because it makes me happy. :-) I have the MOST amazing husband!

Follow along with me as I finish this house! Can't say for sure how long it will take. I have never finished a wooden dollhouse before. 
I would love to hear from anyone who has finished a proper dollhouse for advice! Suggestions? Opinions? I love comments! Don't be shy.

Thanks for stopping by.

Happy Crafting!
Stephiejo


Monday, July 4, 2011

Tablescape: Sushi and Seafood Smorgasbord


Welcome...please come in and have a seat.


All kinds of delectable treats await you...


My master chef was busy all afternoon preparing this feast for my guests.


I hope you brought an appetite...


We have sushi...and seafood...tropical fruit...a veritable smorgasbord feast!


Perhaps I can interest you in a glass of white wine?


I so enjoyed our visit.


Thank you for stopping by!


Happy Crafting!!
Stephiejo

Wednesday, June 29, 2011

Barbie Craft Project: Farmhouse Table


Super simple craft project. Inspired by a recent trip to a fabulous little craft store where I found some fun little 3-D letters made out of MDF. This cute little table popped into my head and I knew I had to have them. 


A little nod to Pottery Barn farmhouse style.

Supplies:

3-D Letter X (2 of them)
Wooden Dowel
Pine Craft Wood
Wood Glue
Paint
Stain
Wood sealer
Craft knife
Drill / Drill bits


Step 1: Find the center of the X.


Step 2: Drill a hole in the center of the X large enough to allow the dowel to pass through.


Step 3: Determine the length your dowel needs to be to support the two x's. To figure the length out I set up the x's and set the pine board on top. I left about a quarter inch overhang on each side, marked the dowel and cut to length.


Step 4: {Optional} I wanted my table top to look like boards rather than a solid piece of wood. I divided my wood into three sections with a pencil. Then score over the pencil lines with a craft knife be careful not to cut all the way through.


Step 5: Stain the tabletop (both sides so it doesn't warp). Or if you prefer you can paint it or leave it natural.

Step 6: Glue the dowel in place. Allow to dry thoroughly and paint the entire table base.

Step 7: Seal the tabletop.

I left my tabletop separate from the table base for ease of storage. You could attach yours if you wish. This particular table is just a smidge taller than an actual Barbie table so if you do not have any chairs that fit it you could use it as a kitchen island.

Here's my new Barbie kitchen. A tutorial on that project in the near future.


Linking to Transformation Thursday @ The Shabby Chic Cottage


Thanks for stopping by!
Happy Crafting!
Stephiejo

Wednesday, June 15, 2011

Barbie Craft Project: Tile

Quick and easy project that has a multitude of possible applications. There are a variety of ways to create scale tile, this is one method that I use frequently.

Supplies:


Thin cardboard (scrap from a notebook, cereal box, or scrapbook tablet)
Xacto knife or scissors
Ruler
Mod Podge
Paint Brush
Pencil
Scrapbook paper,  contact  paper or wallpaper in suitable pattern (example: granite, marble, solid, wood, stone)

Step #1: Lay your scrap of cardboard on top of your piece of patterned paper. Trim paper just slightly larger than the cardboard.


Step #2: Apply a thin layer of Mod Podge to the cardboard. **Note-Mod Podge is waterbased and will cause the cardboard to warp slightly. This is ok.


Step #3: Lay your patterned paper face down on your work surface. Place the cardboard on top of the paper-glue side down.  Press down firmly with your hands. Start in the center and work your way to the edges to remove most of the air bubbles.


Step #4: Place a stack of magazines or heavy books on top until the glue dries. This will flatten out the cardboard.


Step #5: Trim the excess paper to the edge of the cardboard using a straight edge & sharp xacto knife or scissors if you can cut really straight.

Step #6: Draw a grid on the back side of the cardboard the size you want your tiles. I made mine 2 inches by 2 inches. This will equal a real life 12 inch square tile.  **Hint-look at websites that sell tile for size & design ideas.  1" x 1" = 6" RL tile, 2.5" x 2.5" = 18" RL tile


Step #7: Cut along your grid lines. Voila you have tiles!


This will make a fantastic backsplash for a kitchen, a great floor or fabulous surround for a fireplace. 

Here is one example of this tile used in a Barbie sized setting. I customized a vintage Sears kitchen fashion doll playset and added my own backsplash:


Thanks for stopping by!

Happy Crafting!
Stephiejo

Wednesday, June 8, 2011

Barbie Craft Project: Toilet Paper Holder and Towel Holder


Super fast-super easy-craft project for the crafting impaired. Scouts honor. Actually I am sharing TWO. You will be done with both in less than 30 minutes.

Project #1: Toilet paper holder

Supplies- small paper clips- bead caps or rounded earring backs, super glue, wire cutter and real toilet paper (can you spare a square?)


Step 1: Open your paperclip into a U shape


Step 2: Trim the paper clip so that it is the appropriate depth (about half inch)


Step 3: Glue small end of bead caps or earring backs to each end of the paperclip - let dry

**(I do this step on top of wax paper to avoid gluing my tp holder to my work surface)

Step 4: After the glue dries cut a strip of toilet paper just slightly narrower than the width of the holder and wrap around to create a miniature roll.

Step 5: Glue the tp holder to the wall


Now for the big question..does your roll fall over or under? That is such a hotly debated issue in my house...for realz...like it's serious or something...but inquiring minds want to know!

Project #2: Towel Bar

Supplies: Wooden skewer, variety of plastic beads, 2 cup hooks or similar product for hanging, craft knife, craft paint, spray paint or paint pens, matte sealer (optional)


Step 1: Determine the length of your towel holder and trim skewer (mine is 3 inches)

Step 2: Glue beads to each end of the skewer. It doesn't matter what color they are as you will paint the entire piece.


Step 3: When beads are thoroughly dry-paint with craft paints, spray paint or paint pens in desired finish.

Step 4: Seal paint (optional)

Step 5: Hang in your space with appropriate sized cup hooks. (paint to match if necessary)


Step 6: Add towel-finished! (I use felt trimmed with coordinating ribbon. Fold felt in half & iron so it hangs flat on rod)

A few more pics of my Silkstone bathroom...


If you are going for a more realistic approach you could just crumple up the towel and leave it on the floor underneath the towel bar...but that's only if you have men in the house....just saying....

Sweet and simple! Enjoy your handiwork~

Stephiejo ♥

Sunday, May 29, 2011

Freedom Isn't Free

Happy Memorial Day everyone!

Remember those who made the ultimate sacrifice serving in our armed forces.


Freedom is not

Until next time...

Happy Crafting!
Stephiejo

Non-Traditional Barbie Furniture Ideas

In my last post, I discussed my top five favorite mass produced doll furniture pieces for Barbie & friends. (in case you missed it clic...