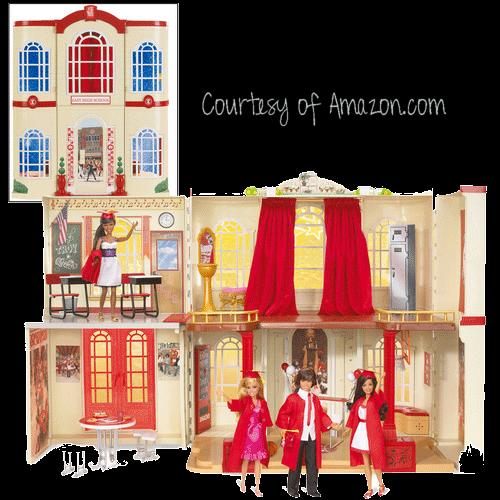
Many moons ago....I purchased a Barbie dollhouse with GRAND plans to customize it. I had visions of an ornate French Country Villa..with European accents in creams...reds...tans...and just a hint of black accent. I had the perfect fabric, cream & black toile. Red & tan plaid. Cream with red roosters. I considered leaving the interior colors as-is. I really liked the red accents and the tan base was workable. This is the set that I started with High School Musical Playset:
When I finally started the customization process I completely changed my mind. (As I often do!) No longer was I enamored with French Country. At least not for this Barbie house. I began looking at the furnishings, accessories, fabric and wallpaper that I already had. That pointed me more in the direction of Baroque or Regency Style. I love the eclectic mix of modern with traditional.
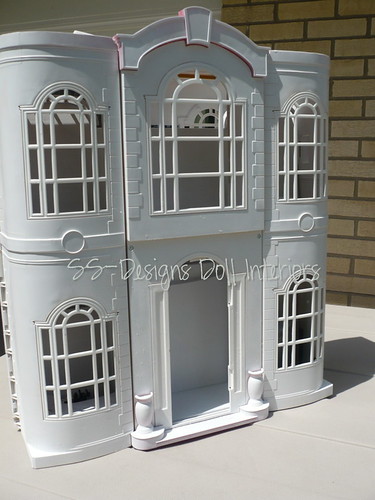
Step 1: Remove all stickers. You will need an entire bottle of Goo Gone for this! Paint the entire house-inside and out a crisp white. Let me tell you now that this process was much more difficult than I had originally anticipated. Four cans of spray paint later (yes-the special kind for plastic) and I still have areas that need to be touched up.
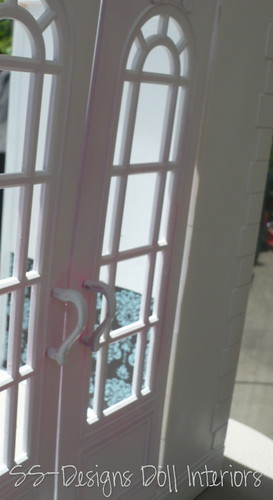
I will warn you-those red french doors are a REAL PAIN. They are warped. Not from the paint-but they originally came that way. Even though they appear to be white you can see hints of red coming through when lit from behind.
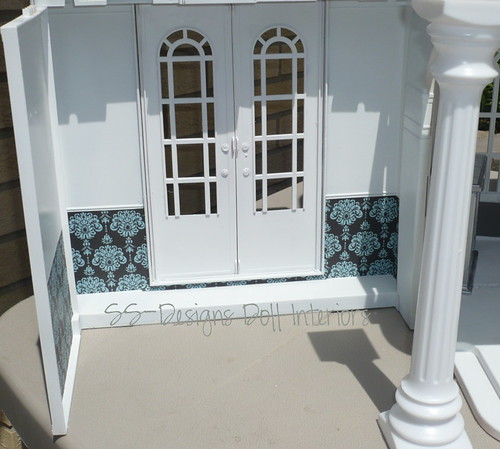
Step 2: Pull together coordinating scrapbook papers to use as wallpaper. A word of advice-scrapbook paper is NOT the proper size to use a single sheet for wallpaper in 1:6 scale. However, if the print is suitable it can be successfully installed.
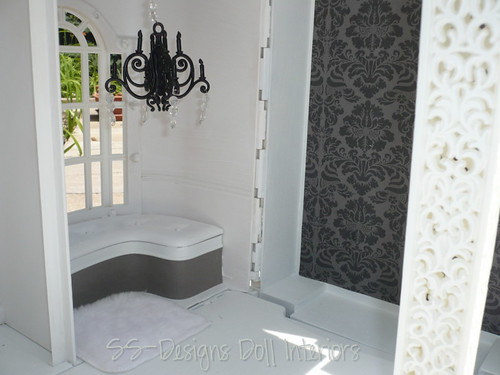
I used a small damask print in this room just under the chair rail:
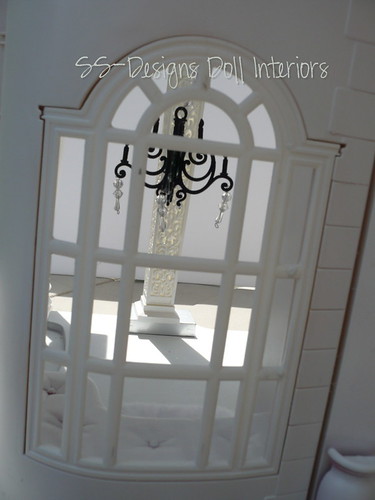
The room directly above this space I used two sheets of paper-the main body in blue & a large border to incorporate more of the damask:

The base of the window seat received a charcoal grey paper. You can see the black/grey damask on the adjoining wall:
Same charcoal grey adorns the lower wall in the future wine cellar:
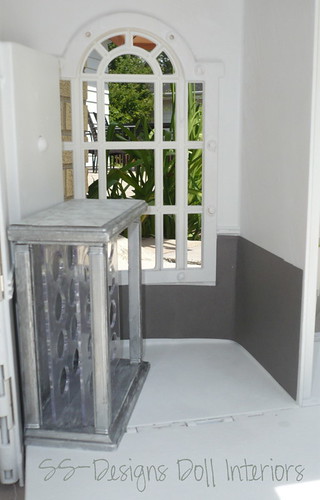
The original red support columns had to be removed. They were adorned with the Wildcats logo and I felt that covering them wouldn't work. I used pliers to break the plastic where they were attached at the ceiling. Once free at the top they simply slid out of the bottom. I replaced with these filigree columns I purchased from a thrift store. Originally used to support a tiered wedding cake. They were not quite tall enough which is why they are perched on silver jewelry boxes for the time being. I'll make a more permanent base soon.
And finally a full view of the progress so far:

Yes I am fully aware that I failed to spray the arch on the roof! This piece removes easily for painting. Just ran out of paint!
There is lots left on my to do list for this home!
*Touch up white paint in several areas
*Determine wall finishes for the remained of the upper level & foyer
*Select floor finishes
*Add light fixtures (real & fake)
*Install baseboards
*Build faux side & back walls for photographing purposes
*Sew window treatments
*Build fireplace or display case for lower level damask wall (needed to support the upper floor!)
Until next time...
Stephiejo~


This is looking incredible! Can't wait to watch your to-do list come to life!
ReplyDeleteSay what you will, but I'm totally excited about this project. You are an inspiration.
ReplyDeleteThanks Smidge Girl & Dani! I'm glad you like the project thus far...stay tuned!
ReplyDeleteWow! I am loving this playset as a scene-setter! All the windows are amazing... can't wait to see what you do with it next as I am loving your decorating choices. ^__^
ReplyDeleteHi, This is so awesome! How do you apply the paper to the walls? Do you use modge podge? I want to remake a plastic barbie house with my girls. Your house is such an inspiration!
ReplyDeleteHi Spoileddaughter...I did not use Modge Podge for adhering scrapbook paper to this dollhouse. Since I spray painted the structure first I was able to install it with spray adhesive.(any brand will do) For the extra walls that I created out of foam core I used regular glue sticks! Sounds like you have a fabulous project ahead of you with your girls! I'd love to see pics of the progress & finished product if you are so inclined. Do you have a blog? When I clicked on your profile it was unavailable. You can email me pics if you like at ssdesignsdollinteriors@hotmail.com or send me any questions! Thanks for stopping by the craft room.
ReplyDeleteThis comment has been removed by the author.
ReplyDeleteAlso how do you find and get those little things you didn't mention, like the makeup bag and stuff what do you search to find and buy that
ReplyDeleteI love your Barbie high school/mansion remodel! I happened upon one of these at my local Goodwill thrift store for a great price and was thinking to do something like this also. Thank you for sharing your tips of how you did this. I may forgo the 4-5 cans of spray paint on the house but the white looks fabulous, especially with the black furniture pieces and accents. My school/house was missing the support piece for the upper floor on the left side (where your nursery was placed) any ideas as what to do with that? My daughter would so scream with excitement if I prettied up her house some more. Yes, we have some of those very stubborn stickers. Thanks for warning me it will be a whole bottle of Goo Gone, good thing we just bought some!
ReplyDelete